In this article
Fixing a pool leak is not buying a ready-made product. It is a small project with stages, each built on the one before, and a mistake early on shows up at the end. Many owners do not know what should happen at each stage, so it is hard to follow the work or know whether it is on track.
This guide walks you through the project from the first visit to after handover. For each phase we explain what the technical team does, what you should receive and what to check yourself before approving the next step.
Phase one: diagnosis
This phase answers two questions: is there really a leak, and where is it? No repair should start before both are answered.
What the team does
- Listens to the history: when it started, how much water is lost, earlier repairs.
- Checks your bucket test results, or runs the test.
- Inspects the plant room, fittings, tiles and surroundings.
- Runs dye tests and pipe pressure tests, and uses listening devices or cameras where needed.
What you receive
A clear explanation of the leak source or sources with photos or test results. If you are told the pool needs draining or full waterproofing without the source being explained, ask for clarification first.
Check yourself
- Were the pipes tested before the shell was blamed?
- Were all fittings checked, or did the search stop at the first point?
Phase two: classifying the leak and defining scope
| Type | Examples | What it means for the work |
|---|---|---|
| Equipment leak | Pump seal, filter lid, valve | Quick plant room repair, pool untouched |
| Fitting leak | Light, return, skimmer | Usually lower the level, reseal and replace parts |
| Surface leak | Open grout, crack in the finish | Local treatment, sometimes under water or at a lowered level |
| Pipe leak | Buried joint or broken section | Limited excavation at a precise spot and replacement |
| Structural or membrane failure | Concrete crack, aged waterproofing | Draining, crack repair, partial or full re-waterproofing |
You then receive a written quotation stating scope, materials, approximate duration and warranty. For structural leaks it should explain how the cause of the crack will be treated, not only the crack.
Phase three: repair by leak type
Equipment and fittings
Replacing seals, gaskets and rings, resealing around fittings with a pool-grade product, and sometimes replacing a cracked or outdated part. Usually quick and without full draining.
Pipes
Once located precisely, the smallest possible area is opened, the damaged section replaced with fittings rated for burial and pressure, and the line pressure-tested before backfilling. See pool pipe and line leaks.
Cracks and waterproofing
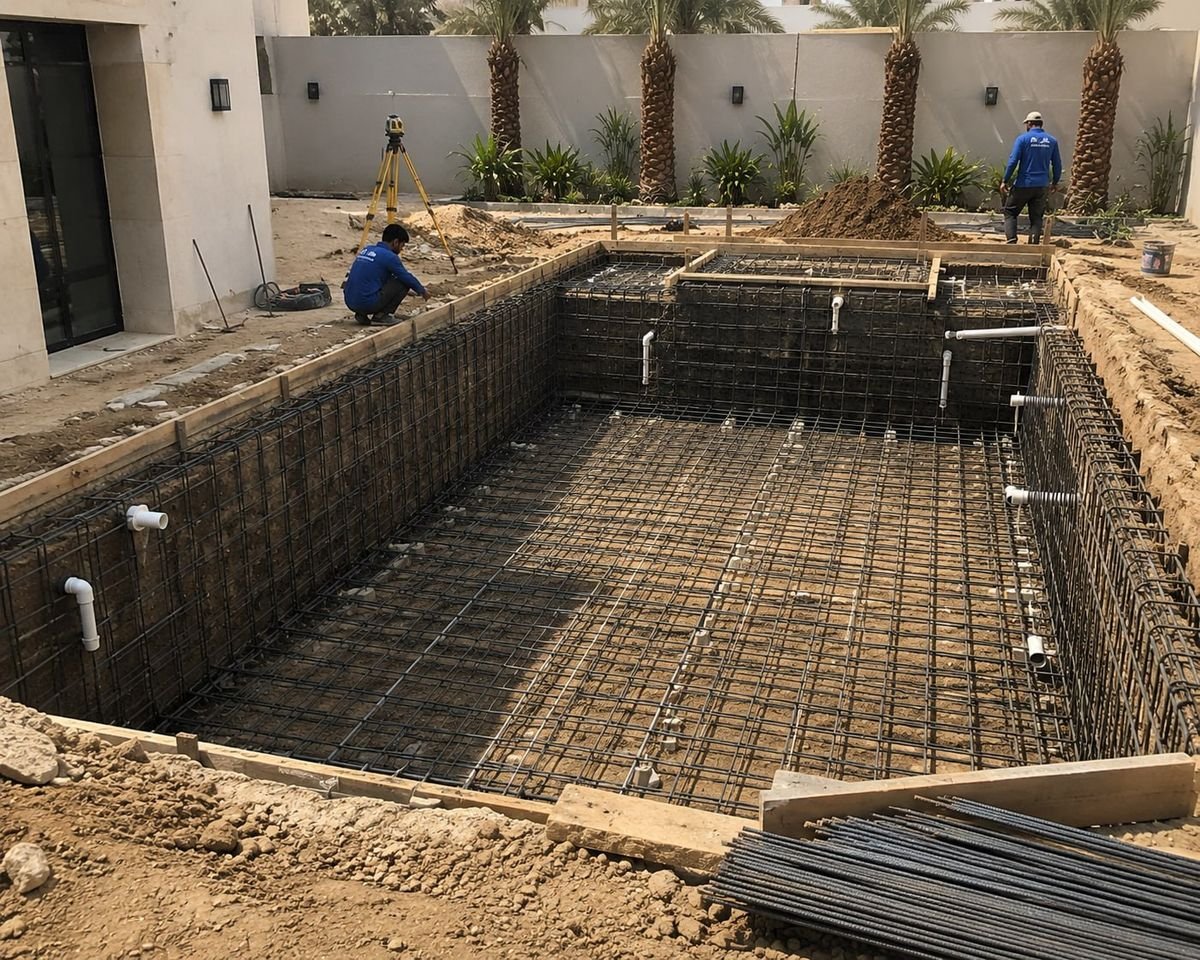
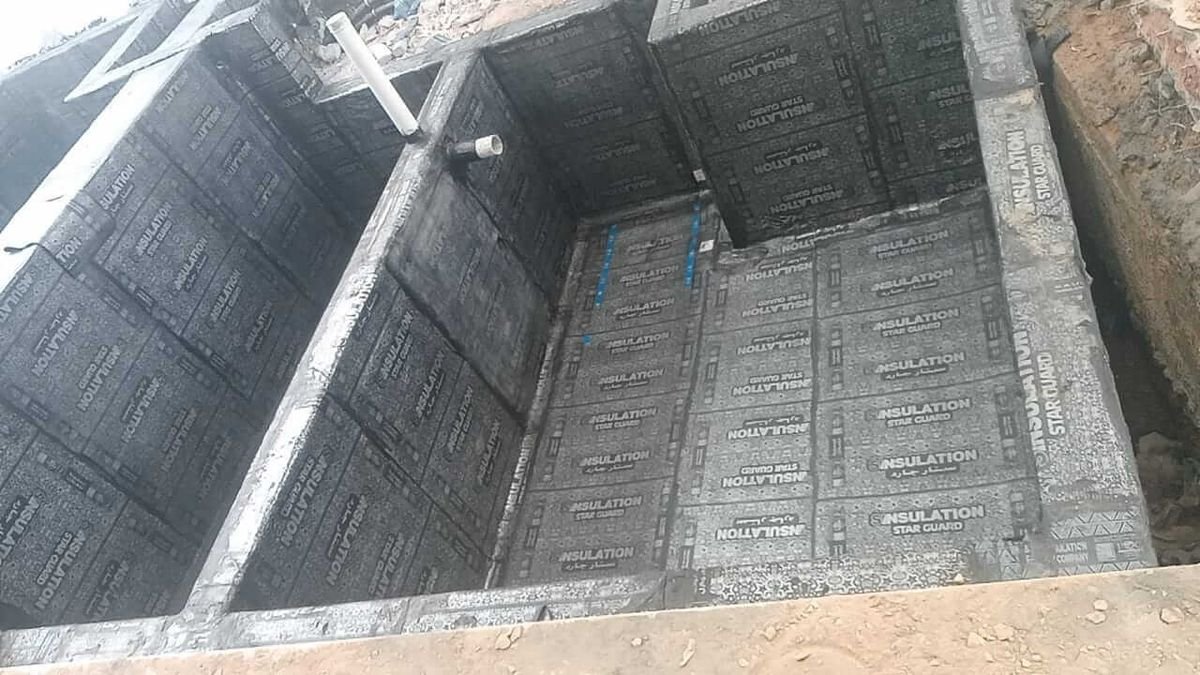
Planned draining, removing tiles in the area, opening and repairing the crack, treating any exposed steel, then applying waterproofing in coats overlapping the sound membrane. If failure is general, the whole pool is waterproofed.
Phase four: re-waterproofing and verification
- Fill test after waterproofing and before tiling.
- Pipe pressure test after repairs and before backfilling.
- Finishing with tiles and grout suited to heat and chlorine, matched as closely as possible.
- Refill and start-up with gradual water balancing and equipment monitoring.
- Post-start bucket test to confirm loss is back to normal evaporation.
At handover you should receive a written summary of the work, materials used, what the written warranty covers and how to report any issue.
Looking after the pool after repair
- Follow the team's instructions for the first days after refilling.
- Keep pH roughly between 7.2 and 7.6 to protect new grout.
- Monitor the level with a tile mark during the first weeks.
- Do not drain in future without need or assessment.
- Check fittings and the plant room periodically, or agree a maintenance contract.
What to expect on time and downtime
Duration varies with the leak type. Equipment fixes may take one visit, fittings need a lowered level and curing time, while crack repair and re-waterproofing need draining, curing between coats and a fill test. These times cannot be cut without hurting quality, and rushing waterproofing is a leading cause of failed repairs. Ask for an approximate written schedule.
YAM Pools follows these phases in order: proven diagnosis, a clear scope in a written quotation, work under engineering supervision, testing before handover and a written warranty on workmanship and waterproofing. We serve Riyadh and all Saudi cities.
Frequently asked questions
Can repair start before the source is found to save time?
We never recommend it. Repairing without a confirmed source may fix a sound area and leave the real leak, so you pay twice.
Why fill-test before tiling?
Any waterproofing fault found then is easy to fix. Finding it after tiling means removing finishes and redoing work.
What if the loss returns after repair?
Run a bucket test and contact the contractor. There may be a second undetected source, or an issue covered by the warranty.
Do I need a maintenance contract after the repair?
It is not required, but it helps catch changes early and keeps the water chemistry that protects waterproofing and grout.